It's hard to imagine here, but in the Northern Hemisphere it's summer time, and Scrapbook Challenges are having a "Sizzling Summer of Sketches". When I saw sketch
SSO3 , I instantly thought of an enlargement I had made of a polaroid of my husband and I when we were not long married. It's not in fabulous condition, what with having been hung in our kitchen for who knows how long, but it is special to me as we have so few photos of us together at that time. Using this sketch allowed me to place embellishments over the worst of the dirty marks!

Have I mentioned how much I love my Basic Grey Marjolaine papers? Well I do, I really love them. For this page I used one complete sheet, offcuts from 3 other (double sided) sheets as well as stickers from the same range. All I added was a bit of ric rac and a few rhinestones! Awesome.
I don't know about you but when I mat a photo this size, I often cut the centre out of the paper to use later. In this case, the second, dark brown sheet wasn't big enough to make a full mat. I didn't let that stop me as I wanted some distinction between the light mat and the hand-cut journalling block from the same paper. So that's budget tip #1. save the inside of your mat for another day.
 |
| Here's the first mat | |
|
 |
| And here's the second one. |
|
After I finished this page, I moved straight on to another page, this time about my oldest son turning 12 (a recent page for a change!) on which I planned to use the same range of papers.Can you see those two smaller blocks of paper on the right hand side? Where do you think they came from? Pretty cool, hey?
 |
| work in progress. | | |
|
|
Oh, and here come budget tip #2: I've started to feel a bit guilty about all the paper and ink I am using printing out sketches and "scraplift" type challenges which I might or might not do. so now I:
- print on the back of an unwanted sheet of paper
- resize if necessary to get 2 sketches on the same page (by turning sheet around and sending back through the printer
- print in "grayscale" if it is coloured
- print using "superfast draft" mode.
Less paper, less ink, less eco-guilt! Yay!
PS. and have I told you how much I love my Basic Grey Marjolaine papers?


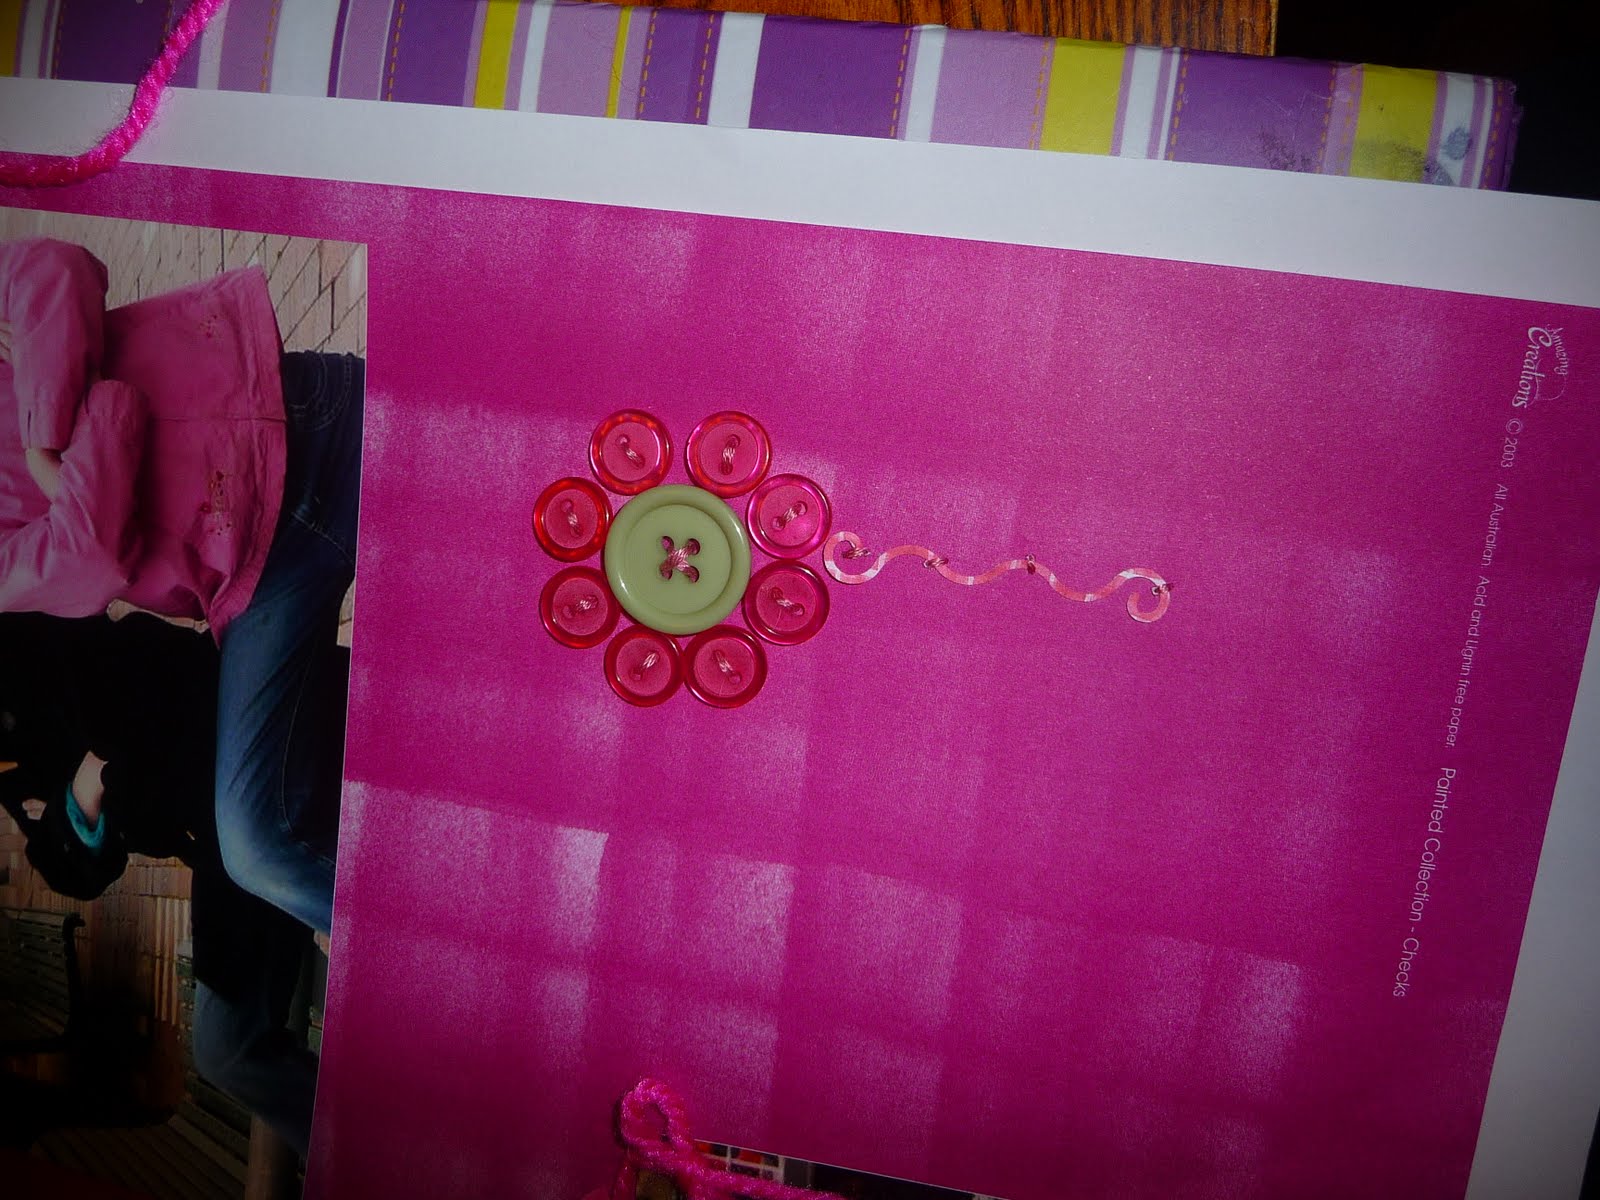


 And finally, my own work. I surprised myself and actually got a bit done. I don't always when I have friends over for craft - it's so easy to just socialize. I find that the best strategy though, is to have ready on hand is a few "kits" ready to choose from. I know that I won't be able to journal when I am around other people, so I try to have it already to go, or else accept that I can finish it later. For this page, "sew cute" I already knew exactly how I wanted it to look. The circles and title were already cut, the focal photo mounted and the journalling drafted on a scrap of paper. I just had to stick things down and sew on the buttons. I even managed to copy down the journalling, as I didn't have to think about what I wanted to write.

 Have I mentioned how much I love my Basic Grey Marjolaine papers? Well I do, I really love them. For this page I used one complete sheet, offcuts from 3 other (double sided) sheets as well as stickers from the same range. All I added was a bit of ric rac and a few rhinestones! Awesome.


 Wow, the blog hop was so much fun, but so many blogs to look at it was too hard to really have a good look at all of them. I did come across a few new challenge sites (not that my TAFE course will thank me, it's easy enough getting distracted from study already!) I am particularly excited about one site called "Scrap our Stash" . Sounds like my kind of people! I have already completed a "pagerise" challenge; the winner of the last challenge posts a layout of their own for you to "scraplift" in any way you choose.
  For me, this was another chance to do a bit of a budget page. It was made using only one sheet of patterned paper, offcuts from two shades of cardstock, some very old letter tiles, machine stitching, stamps, sizzix dies and punches. The green border strip is the reverse of the page. I then decided that I could cut the title from the background as well, so had to cut some more away. This big hole is of course covered by the strip of photos!


