Wednesday, February 26, 2014
Daddy-daughter dancing and giant Jenga
I'm the sort of person that gets my photos printed in bulk.
And I'm also the sort of person who puts off doing tasks like getting the photos processed ready for printing.
So I tend to wait until I'm in the position of being desperate for a fresh batch of photos before I tackle the task. A task I plan on starting later on today. . . If I find the time . . . Hopefully. . . By the weekend at the latest . . .
So you can imagine how pleased I was when a lovely little packet of photos arrived in the mail from my nephew's wedding back in November. Here's two single pages I was able to complete without wanting to add any photos of my own (sorry, no photos of the bride and her beautiful dress just yet!)
I love, love, love this photo of Robert and Maddy dancing together at the reception, especially her expression as she's looking up at her Daddy!
The wedding was held on an amazing farm owned by the bride's family There was a lovely relaxed time between the wedding and reception where nibbles and drinks were provided, and a whole bunch of different outdoor games were set up in the rows between the grape vines in the vineyard. The skittles didn't do so well on the uneven ground, but the oversized Jenga was a big hit with our family!
I love the expressions captured on the family members in the background on this page as well.
Am I a bit obsessed with the clusters of mixed butterflies at the moment? I'd have to say yes.
And am I worried that the page is a bit blokey for butterflies? I'd have to say no. Even if I wasn't in one of the pictures, it is at a wedding after all!
The supplies for both these pages are from my two most recent Counterfeit Kits, "Moving Boxes" and "Love in a Box". I've dug into both of them and mixed them up so much that I'm considering just putting them together as one super-kit renamed "Love in a Moving Box".
Sunday, February 16, 2014
Getting through a day you've just got to have.
When my kids are looking ahead to a particular event with dread - an exam for example, or the first day of school, I say to them, "some days are a day you've just got to have". No amount of sugar-coating will necessarily make them enjoyable - you've just got to get through them.
With our auction looming, that was certainly how I was feeling last week. By Friday, the nerves had gotten the better of me. I ignored all my housework and retreated into the craft room.
It's Sunday afternoon as I write this, and I've got two pieces of news to share with you: our house sold at auction for a great price, and I've finished a few pages to share with you!
These pages are a mix of my most recent Counterfeit Kit, "Love in a Box" and the one I put together before the move, "Moving Boxes" . . .
I decided to not spend too much time worrying whether wood veneer birds were too "girly" for this page for Angus's album about a camping holiday to Swansea . . .
This page is for Rohan's album, about how he "helped" his aunty with her painting. (She gave it to us once it was finished and has pride of place above my desk as I type)
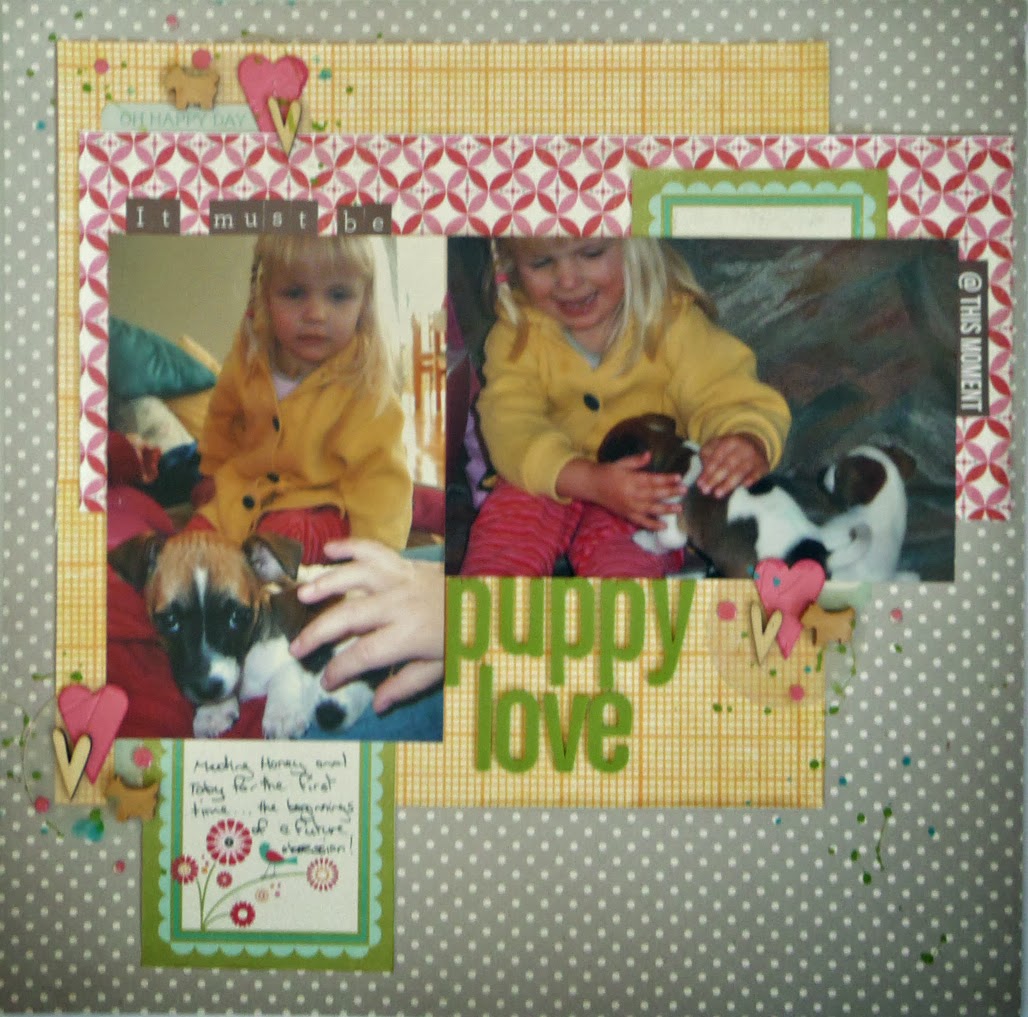
Maddy technically didn't need another page showcasing her with Hamish as a puppy . . . but this photo is so cute I did it anyway! Maybe it will end up in the family album?
And finally, a page for a challenge! Here's the yummy inspiration from Scrapbook Boutique:
and my interpretation:
I adore these photos of Maddy, taken while camping when she was about 18 months old. She had woken up all hot and sticky from a nap and I couldn't resist taking a bunch of photos.
Whew! Now that the house is sold, I'm looking forward to life settling back to normal . . . or to the new normal, what ever that may be. I'm hoping that will include a regular dose of creative time, and I hope your schedule allows you some, too!
Saturday, February 8, 2014
February Counterfeit Kit - Love in a Box
After finally getting back to scrapbooking after months of renovating one house and moving into another, there's probably two ways I could go.
One would be to treat myself to a huge "haul" of new supplies, and I don't think too many of you out there would begrudge me that, would you?
Or, having just gone through the endless "culling" that goes with moving house, I might be wanting to keep the stash at a manageable level and use the supplies I already own.
Well, if you've come over from the Counterfeit Kit Challenge, then you can probably guess which path I took!
Based on this lovely kit choice from Esencial de Scrapbook . . .
. . .I'm loving the colours and should be able to find some stripes, dots and woodgrain . . .
. . . let me reaveal my own version, "Love in a Box"
A closer look, perhaps?
I started with the stripe on the top left to base my colour pallette on, and added papers from Echo Park, Dear Lizzy, Basic Grey, Studio Calico and Crate Paper. They are all fairly recent collections to my way of thinking, but if you like to keep up with the absolute current trends, some of them might border on the old!
The one paper I loved but couldn't match from my collection was that gorgeous watercolour heart paper. Time for a bit of counterfeiting, perhaps?
I simply mixed some watercolour paints to get colours to match my papers, painted my stamps and stamped away! The hearts are unmounted acrylic stamps from Fancy Pants, and the flowers are an old foam set from Making Memories. (Confession time, who else still has that set lurking in their stash? I still love it and don't get it out often enough)
Stickers and lettering . . .
Stamps . . .
Once I added stamps I decided to include some matching cardstock. Other than that, I've added a couple of sheets of tags, some doilies, sequins and die cuts . . .
The one way I have spent money on craft this year is to renew my subscription to the Silhouettte Online Store, so I took this opportunity to try out some of my new cut files for this kit.
When it comes to my kits, I'm more and more into the idea of using white cardstock for my diecuts - the thin kind that often comes in a set of page protectors. That way, they're virtually free, so no big deal if I don't end up using them, plus I have plenty of colouring options at my fingertips if I decide I want to use them but not in white. Or again, if I decide to use a different paper or cardstock, and even resize them again, no biggie if the original white cut doesn't get used.
So that's my kit. If you've visited before, you know I'll have no qualms adding other bits and pieces as the month moves on. But I'm happy with a box of goodies to start with, and can't wait to start playing. What about you? Have you had the satisfaction of building a kit out of your own supplies lately? Or can I tempt you to try?
One would be to treat myself to a huge "haul" of new supplies, and I don't think too many of you out there would begrudge me that, would you?
Or, having just gone through the endless "culling" that goes with moving house, I might be wanting to keep the stash at a manageable level and use the supplies I already own.
Well, if you've come over from the Counterfeit Kit Challenge, then you can probably guess which path I took!
Based on this lovely kit choice from Esencial de Scrapbook . . .
. . .I'm loving the colours and should be able to find some stripes, dots and woodgrain . . .
. . . let me reaveal my own version, "Love in a Box"
A closer look, perhaps?
I started with the stripe on the top left to base my colour pallette on, and added papers from Echo Park, Dear Lizzy, Basic Grey, Studio Calico and Crate Paper. They are all fairly recent collections to my way of thinking, but if you like to keep up with the absolute current trends, some of them might border on the old!
The one paper I loved but couldn't match from my collection was that gorgeous watercolour heart paper. Time for a bit of counterfeiting, perhaps?
I simply mixed some watercolour paints to get colours to match my papers, painted my stamps and stamped away! The hearts are unmounted acrylic stamps from Fancy Pants, and the flowers are an old foam set from Making Memories. (Confession time, who else still has that set lurking in their stash? I still love it and don't get it out often enough)
Stickers and lettering . . .
Stamps . . .
Once I added stamps I decided to include some matching cardstock. Other than that, I've added a couple of sheets of tags, some doilies, sequins and die cuts . . .
The one way I have spent money on craft this year is to renew my subscription to the Silhouettte Online Store, so I took this opportunity to try out some of my new cut files for this kit.
When it comes to my kits, I'm more and more into the idea of using white cardstock for my diecuts - the thin kind that often comes in a set of page protectors. That way, they're virtually free, so no big deal if I don't end up using them, plus I have plenty of colouring options at my fingertips if I decide I want to use them but not in white. Or again, if I decide to use a different paper or cardstock, and even resize them again, no biggie if the original white cut doesn't get used.
So that's my kit. If you've visited before, you know I'll have no qualms adding other bits and pieces as the month moves on. But I'm happy with a box of goodies to start with, and can't wait to start playing. What about you? Have you had the satisfaction of building a kit out of your own supplies lately? Or can I tempt you to try?
Thursday, February 6, 2014
Doing the "To Do" and Finishing the "Unfinished"
I don't think I'm the only one out there in the craft (or any other) universe who has a perpetual list of things "To Do" and Unfinished Projects in various states of progress that I really do plan on finishing one day . . .
As we were preparing our house for sale (the auction is in 9 days ) we completed many such projects and ticked many things off the "to do" list, some of which had been sitting on it for years and years.
Some projects were so ridiculously quick and easy we wondered why we hadn't bothered earlier. Some took much more time and money and we knew why we'd put them off, but all of them contributed to the look and/or functionality of the house in some way.
There's no doubt we wish we'd done those jobs earlier so we could have enjoyed living with them . . .
. . . so I'm determined to do a bit better at this new house. Here's a couple of little ways I've succeeded so far . .
.
Before we decided to move, Maddy and I were planning a bit of a make-over for her bedroom, but by the time her room was painted, the decision had been made, so none of the fun decorations went up. As she's been the most unsettled by the move, I made it a priority to get some fun touches in her room ASAP! The triangles for the bunting were already cut out, so I only had to sew them together - I used a whole bunch of bias binding I found in my stash. The wall stickers were originally purchased for her old room, but have only recently fluttered out of their packaging for the first time!
I'm not going to hazard a guess at how long ago I had the photos for this little grouping printed out, or when between then and now I finally bought the frames, but they never made it onto the wall at the old house! Now that they're up, it should be an easy matter to update a photo or two any time I like . . .
This next one was inspired by a little something I found on Pinterest (the original blog post can be found here)
I mod podged the book pages onto the canvas sometime last year . . . and for no apparent reason stopped there. I finished it easily in an afternoon (unlike the original tutorial, I used my Silhouette - the cut file which I manipulated is called I think "bird branch set" from the Silhouette Online Store) and it now has pride of place in the entrance way to our new home!
I can't to wait to finish some more unfinished projects . . . hopefully I'll be back with more soon . . .
As we were preparing our house for sale (the auction is in 9 days ) we completed many such projects and ticked many things off the "to do" list, some of which had been sitting on it for years and years.
Some projects were so ridiculously quick and easy we wondered why we hadn't bothered earlier. Some took much more time and money and we knew why we'd put them off, but all of them contributed to the look and/or functionality of the house in some way.
There's no doubt we wish we'd done those jobs earlier so we could have enjoyed living with them . . .
. . . so I'm determined to do a bit better at this new house. Here's a couple of little ways I've succeeded so far . .
.
Before we decided to move, Maddy and I were planning a bit of a make-over for her bedroom, but by the time her room was painted, the decision had been made, so none of the fun decorations went up. As she's been the most unsettled by the move, I made it a priority to get some fun touches in her room ASAP! The triangles for the bunting were already cut out, so I only had to sew them together - I used a whole bunch of bias binding I found in my stash. The wall stickers were originally purchased for her old room, but have only recently fluttered out of their packaging for the first time!
I'm not going to hazard a guess at how long ago I had the photos for this little grouping printed out, or when between then and now I finally bought the frames, but they never made it onto the wall at the old house! Now that they're up, it should be an easy matter to update a photo or two any time I like . . .
This next one was inspired by a little something I found on Pinterest (the original blog post can be found here)
I mod podged the book pages onto the canvas sometime last year . . . and for no apparent reason stopped there. I finished it easily in an afternoon (unlike the original tutorial, I used my Silhouette - the cut file which I manipulated is called I think "bird branch set" from the Silhouette Online Store) and it now has pride of place in the entrance way to our new home!
I can't to wait to finish some more unfinished projects . . . hopefully I'll be back with more soon . . .
Monday, January 13, 2014
Well, Happy New Year everybody!
We've been in our new house for about a month now and the painting, renovating and cleaning at the old house is only just starting to ease off. It's been a busy couple of months. . . and as it turns out they didn't cancel Christmas just because we were in the middle of moving and getting ready to sell a house!
The pool has been an absolute life-saver at our new home, helping us maintain our sanity after many school holiday days spent painting and cleaning!
One of the less great features of our new house is that I don't have space (I'm going to optimistically say "yet") for a dedicated craft room. Angus was given a choice between sharing a room with his brother or with his mother's craft supplies . . . and guess which one he chose?
Here's a glimpse of how our shared space looked a couple of weeks ago . . . not that it looks that much better now!
As you can see, the built-in is totally devoted to craft supplies at present. One day soon we plan to rearrange all Angus's furniture and replace that small desk on the right with the larger desk and hutch from my old craft room, which will give me a larger workspace and a bit of a "wall" between the two areas.
Think it looks a bit too chaotic to work in? Well it is, but thanks to my October Counterfeit Kit, "packing boxes" I have managed to crank out one page . . .
I was desperate to get out my Silhouette, but that was just a bridge too far. . . thank goodness I had a range of letter stickers included in the kit, and a good range of die-cuts to hand. Maddy was at a sleep-over at the time, so I still need to add journalling.
Well that's it for now, I look forward to catching up with you soon, hopefully in a slightly less chaotic space, both physically and mentally!
We've been in our new house for about a month now and the painting, renovating and cleaning at the old house is only just starting to ease off. It's been a busy couple of months. . . and as it turns out they didn't cancel Christmas just because we were in the middle of moving and getting ready to sell a house!
The pool has been an absolute life-saver at our new home, helping us maintain our sanity after many school holiday days spent painting and cleaning!
One of the less great features of our new house is that I don't have space (I'm going to optimistically say "yet") for a dedicated craft room. Angus was given a choice between sharing a room with his brother or with his mother's craft supplies . . . and guess which one he chose?
Here's a glimpse of how our shared space looked a couple of weeks ago . . . not that it looks that much better now!
As you can see, the built-in is totally devoted to craft supplies at present. One day soon we plan to rearrange all Angus's furniture and replace that small desk on the right with the larger desk and hutch from my old craft room, which will give me a larger workspace and a bit of a "wall" between the two areas.
Think it looks a bit too chaotic to work in? Well it is, but thanks to my October Counterfeit Kit, "packing boxes" I have managed to crank out one page . . .
I was desperate to get out my Silhouette, but that was just a bridge too far. . . thank goodness I had a range of letter stickers included in the kit, and a good range of die-cuts to hand. Maddy was at a sleep-over at the time, so I still need to add journalling.
Well that's it for now, I look forward to catching up with you soon, hopefully in a slightly less chaotic space, both physically and mentally!
Tuesday, November 26, 2013
One day when I was waiting for the phone to ring . . .
It was a slightly stressful day a few weeks ago, we were about to embark on making an offer on another house (we've since exchanged contracts and are aiming to move before Christmas! hysterical shriek of laughter!), and I was wandering around the house for half the day, both phones in hand, waiting for the Real Estate agent to ring me back. I found it hard to settle into anything productive, and the one thing I really wanted to do - getting up the ladder with the power tools - was really not an option! Eventually, I found myself in the craft room. At last! Something I could settle into.
First up I finished this page, which came together pretty quickly as the main elements had been on my desk for a week or two:
I inked the thickers to get a shade closer to the other elements on my page, which fits in nicely with Challenge #2 at the Counterfeit Kit Challenge, to alter the colour of something on your page.
Next up, I started a page for the Scrap the Boys challenge of "Man's Best Friend". I took the literal approach and scrapped an old photo of Angus with our friend's puppy.
At the same time, I took the Kraft It Up challenge to use Wood Veneers.
Well thanks for stopping by, I don't think there'll be too much more action on this little blog over the next month or so, but I've still got plenty of goodies in my October Counterfeit Kit, "packing boxes", so you never know . . .
Monday, November 4, 2013
The page that took me most of the month . . . and the one with the grid.
You might have read in my last post about how we'd had an offer accepted on a house and that we were madly packing . . . or you might have read that same post later in the month where I updated it to say that the sale had fallen through. {Massively big sigh}.
So, while the packing is on hold for the time being, I'm no less busy, as we're still preparing our house for sale . . . painting, repairing the deck, gardening, more painting . . . you get the idea. Oh yes, and back to the round of Saturday morning open houses, of course.
So first up, the page that took me most of the month to put together . . .
I've packed the folder with all my photo proofs in it, so I'll have to add the date in later . . .
Then, because I wanted to feel at least a little bit a part of the Counterfeit Kit Challenge, I decided to take on Challenge #3, to use a grid.
I like this type of page for when I want to put something together pretty quickly. As a bonus, it only requires one full sheet of paper (which I cut the middle out of) and the rest can be 6" pages or off-cuts.
Still plenty left in my kit to see me through the next month or so . . .
Subscribe to:
Posts (Atom)