Sunday, July 31, 2011

Right now.

Having recently printed out a few hundred photos, I decided it's probably a good idea to focus on scrapbooking recent history for a while, before I forget the details I wanted to record.  It was back in May that I took a photo of the uniforms that represent all my kid's activiites at the moment.  Here is the page I ended up making this week  based on SS14 from Scrapbook Challenges.
The Layout
 The photo shows uniforms from Tae Kwon Do, ballet, and soccer, the three activities that keep me and the kids running around each week.  In terms of the page layout, the papers are all off-cuts.  I loved using papers, flowers and brads that are unrelated except that their colours match those of the uniforms.  The border stitching was done by first running through the machine on the biggest straight stitch without any thread in it.  I then stitched through every second hole by hand, using embroidery floss (which I have in pretty much every colour of the rainbow thanks to a few cross-stitch projects in a former life).
a description of our shedule is written on a tag which is tucked behind the photo.  I am embarrassed to say that it is the first time I have used the "day of the week" stamps I used on the tag.  I don't know how long I've had them, except that I obviously bought them for projects just like this one, at a Crafty Kids Party I went to with my neighbour - and she moved to Canberra at  the beginning of last year!!
Here's to rediscovering underused supplies! 
The journaling tag, tucked behind the photo.

Saturday, July 23, 2011

Three fun challenges

Here is the first page I want to share with you: it came together really quickly the other night after Masterchef.  I already had the photo and the journalling ready to go, and decided that the 
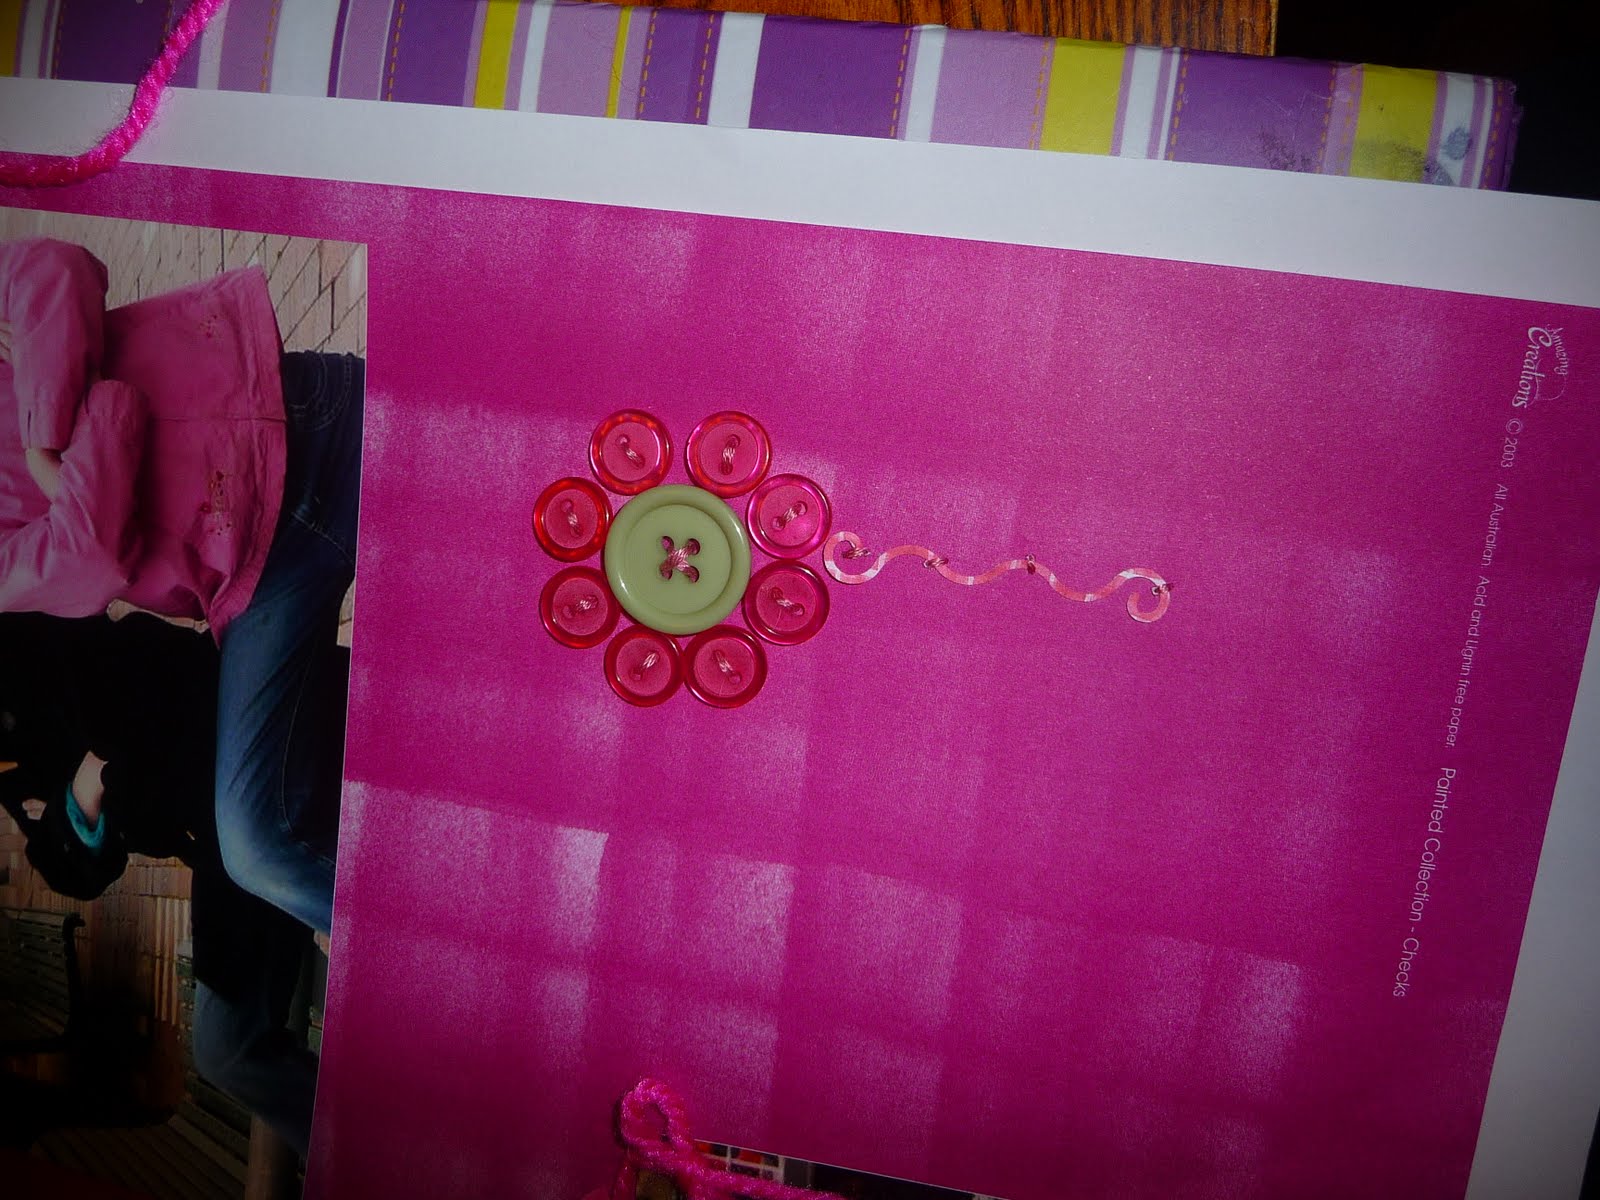
Pick of the Week (July, week 2) was the look I was after.  And I decided that the Aunt Gertie's Garden papers strewn across my desk would work really well!  This page is almost 100%Aunt Gertie - papers, rub-ons and ribbon.  And yes, they are off-cuts this time.  In fact the brown circle you can see is actually the outside of the circle from the "Hannah" layout on my last post! (Reverse side)


And now, a question for you: how do you take decent photos of a 12 year old boy who has braces and is very sensitive about his looks?
Answer: I have no idea, but in the meantime, download his photos from his Facebook page!  As a basis for this page I used a fun sketch idea, also from Scrapbook Challenges (SS11 by Natalie Jane)  And I do mean fun! Note to self: must use stamps on layouts more often!
The stamps are all really different, but they work together simply by being all stamped in the same ink. The order I constructed this page was: paper circles and title stuck down first, photos roughly positioned.  Then large collage stamp.  Arrow stamp next, to link journalling to photos.  After that, it was just a matter of stamping largest image to smallest, then adhering journalling dots and strips over the top.
I was quite apprehensive showing this page to Rohan - he didn't even know I had printed the photos out!  His response? "Put that on the internet!"
wow! You don't get much higher praise than that!


And finally, my version of the Scrap our Stash pagerize challenge, where we were challenged to use memorabilia on a page.  I have been saving clothing labels for a while, so I used a whole bunch of them peeking out from under this photo of me.  I think I was originally planning some indepth reflective journalling on this page about "facing 40", but in the end I quickly jotted down some things that came to me quickly, and fit them around the page.  For example, "I'd rather do craft than housework".  Sound familiar, anyone?
On a construction note, some of the labels are quite thick.

I ended up attaching the photo using a couple of generous strips of foam mounting tape in the middle, enabling me to put it down first, then tuck the labels behind, one by one.

Wednesday, July 20, 2011

Speed Scrapping

So here's how it went. . . I've been a good girl this week and already done 3 hours study, and I had a bit less than 2 hours before I had to pick up the kids.  I decided I wanted to do this week's Lets Scrap "sew easy" challenge 104 which very simply requires you to use some sewing on a Let's Scrap sketch.  (Well they said it was "sew easy") So anyway I went looking for a sketch suitable for 4 landscape photos, and very quickly thought, hang on, the sketch of the week (7-13-11) actually suits the photos I want to use, but it's due on Midnight on the 19th of July, and it's the 20th here.  A quick look at the official clock that 12 midnight Lets Scrap time was the same as 3pm my time, in other words, less than 2 hours time, the same time I have to pick up my kids from school!
Could I really do it?  Could I really do a whole double page layout, photograph it and upload said photo in less than 2 hours?  Well why not find out!
Well let me tell you, I was trimming papers and whacking them down with abandon, sewing strips to the page without first checking how the whole page would look, trusting in the sketch that the finished product would look balanced!  It was close, let me tell you, in fact I was adding tags to the uploaded photo just as my alarm was going off to tell me to go get my kids from school!
I know you are wondering, but are the papers all off-cuts?  Well no, but they have been rescued from what I have started to think of as "patterned paper purgatory" (the papers I will be throwing out at the end of the year if they are not used or given away) so it's pretty much the same.  Actually, most of the paper, the letter stickers and the ribbon are all from an SEI "Aunt Gerties Garden" pack which I once got in an ill-advised Ebay "mystery box" win.  But the less said about that, the better!
The final word on speed scrapping?  Well, it was fun to try, especially in light of the revised  "spend less, get more study done, still find time for some craft" aspect to the project, but one look at those crooked letters should tell you that maybe a more leisurely approach is probably for the best.  I'm not recommending it as an Olympic sport any time soon!

Sunday, July 17, 2011

Mid year review

It's been six months since I started this blog and the "spend less craft more" project, and also the last night of the school holidays, which seems to me to be a good time to do a mid-year review.  when I first started out, my goals were simple:
  • spend no more than $5 a week
To date I have spent $116.91, or just over 23 weeks' worth of the budget!  When I first conceived this plan, I thought this was going to be like cutting off all my major limbs, then gouging out my eyes.  Actually, it's been pretty easy.  I haven't been able to make any major purchases, like new stamps or whatever, but because I am focusing on using what I have, I haven't really missed that.  I actually plan to continue the tight budget, with perhaps minor alterations, indefinitely!
Next purchases: baby wipes (for cleaning stamps) and double sided tape!
  • Do something creative every week.
I have succeeded in this one also.  I have to say this is probably the longest I have gone where I have regularly kept up the creative energies.  If anything I have succeeded too well . . . I didn't know at the start of the year that I would be starting an on-line TAFE course this year.  Because there is no face-to-face teaching, you can work at your own pace.  Turns out that without deadlines to work to, my pace is approximately that of a snail.  I am considering changing the name of my blog to "Spend Less, Study More, Hopefully still get some craft done".  Seriously though, I need to devote more time to my studies this term. I plan to timetable some TAFE time in my diary each week, then mark it off in half hour blocks.  I will ONLY be able to get into the craft room if I am up to date on my TAFE hours for the week!
  • Have a smaller stash at the end of the year
At this point I would have to say the biggest difference has been to my patterned paper (the unused sheets that is).  As for the offcuts, well without getting out the scales again it's hard to say, but I seem to create them at least as fast as I use them.  Perhaps some more scraps challenges are in order . . .
As for the embellishments, according to my tally, I have used ribbon in 42 projects, but do you think I can tell the difference?  Stickers, I can probably tell the difference a bit more so, especially in those letter stickers where I have started using the negative.  Again, I'd love to challenge myself to use some of the lesser used embellishments if I can find the time.
But overall, a big tick for the year so far . . .
 And because I don't feel like finishing up this post without some pictures, here is some (hopefully) inspiration for hand-made journalling- and title-blocks.


Friday, July 15, 2011

Two challenges, one card

At the start of the year, I was having lots of fun playing with the ColourQ girls, with their fabulous colour challenges each week.  I haven't done one for ages, not because I don't love it there, but  . . . (sigh, I knew this confession would have to come out sooner or later) I'm not actually very good at getting around to giving people cards.  Pretty pathetic, I know, for someone who lists card making as one of her hobbies!
But this week, I thought, wouldn't it be cool to combine the current colour combo challenge #93 with a card sketch!  I chose sketch 103 from Got Sketch? and here is the result:
Hey! I just a cool idea for a card-making party.  Print out a bunch of  colour combinations from ColourQ and some card sketches (at least one of each per guest and maybe some spares), shuffle and hand them out.  What a fun way to get together and use up your scraps!
Note to self: put plan into action once soccer season finishes!

Thursday, July 14, 2011

Let's Scrap challenge

The other page I started when my friends came over, was a challenge for "Lets Scrap".  What I am loving about this new site I found is that all the sketches posted are double pages (you can do both sides, one or the other).  When it is a challenge, you get to use any sketch you like, plus the challenge.  Challenge 103 is to substitute a word or letter in the title with something else.  I was able to choose the photos I wanted to use first, then scan the sketches for one that fit in with the number and orientation of my photos.
I instantly thought of these photos of my trip to the cricket with my husband last year, and using a cricket ball for the "O" in the title.  When I found sketch 3-9-11 with all the circles, I thought I would stick with the cricket ball theme.  A quick search on google images found me plenty of cricket ball pictures to print out.
Fun, fun fun!
PS. I also found a tutorial on Lets Scrap on how to photograph your pages for the web.  I still didn't get them quite lined up properly, but I promise from now on to try harder to publish my photos better.

An awesome annual event


the lovely Hannah working on her page
Last year Hannah, (now 13) the daughter of a good friend of mine, was quite sick and missed quite a bit of school.  It was pretty rough going there for a while.  I did a bit of what I like to think of as "art therapy" with Hannah and we did a bit of scrapbooking together.  Happily, Hannah is much better now and is doing awesomely well, it's just that our scrapbooking dates are more like an annual event instead of a fortnightly one.  Being school holidays, Hannah's mum Kathryn and sister Grace (11) joined in the fun, as of course did my Maddy (8 in 3 days).


Hannah;s lovely hand-drawn title


 Here are some of the details from Grace's page


Maddy was absolutely on fire, and did this page about herself and her "BFF" Hamish, as well as another page featuring her two best school friends.

Kathryn's funky 21st card for her niece


And finally, my own work.  I surprised myself and actually got a bit done.  I don't always when I have friends over for craft - it's so easy to just socialize.  I find that the best strategy though, is to have ready on hand is a few "kits" ready to choose from.  I know that I won't be able to journal when I am around other people, so I try to have it already to go, or else accept that I can finish it later.  For this page, "sew cute" I already knew exactly how I wanted it to look.  The circles and title were already cut, the focal photo mounted and the journalling drafted on a scrap of paper.  I just had to stick things down and sew on the buttons.  I even managed to copy down the journalling, as I didn't have to think about what I wanted to write.
To save your eyes, the journalling around the circles says
When I look at these photos of the boys in their matching tops that I made, I think to myself, "how on earth did I find the time to sew?"  And then I remember, that was before I took up scrapbooking!

Wednesday, July 13, 2011

Three quick cards

I noticed that my 6" pads hadn't seen much use this year at about the same time as I realized that there were a few birthdays coming up. Doesn't take a genius to make the connection there, And I decided that some cards using 6" pads were in order.  I had my ever-willing assistant, Maddy, who thought she should make the card for her friend, and fair enough too.  We were pretty pleased with our results.  They might not win any awards, but they are pretty sweet just the same and, as they say on Masterchef,  made with love.


Maddy designed hers herself, the blue one with the butterfly.  Don't you love how she cut out another flower and leaf to add to the inside of the card?  She said that she "didn't want to waste paper".
That's my girl!

Saturday, July 9, 2011

A budget tip or two.

It's hard to imagine here, but in the Northern Hemisphere it's summer time, and Scrapbook Challenges are having a "Sizzling Summer of Sketches".  When I saw sketch  SSO3 , I instantly thought of an enlargement I had made of a polaroid of my husband and I when we were not long married.  It's not in fabulous condition, what with having been hung in our kitchen for who knows how long, but it is special to me as we have so few photos of us together at that time.  Using this sketch allowed me to place embellishments over the worst of the dirty marks!
Have I mentioned how much I love my Basic Grey Marjolaine papers? Well I do, I really love them.  For this page I used one complete sheet, offcuts from 3 other (double sided) sheets as well as stickers from the same range.  All I added was a bit of ric rac and a few rhinestones! Awesome.
I don't know about you but when I mat a photo this size, I often cut the centre out of the paper to use later.  In this case, the second, dark brown sheet wasn't big enough to make a full mat.  I didn't let that stop me as I wanted some distinction between the light mat and the hand-cut journalling block from the same paper. So that's budget tip #1. save the inside of your mat for another day.
Here's the first mat
And here's the second one.
After I finished this page, I moved straight on to another page, this time about my oldest son turning 12 (a recent page for a change!) on which I planned to use the same range of papers.Can you see those two smaller blocks of paper on the right hand side?  Where do you think they came from?  Pretty cool, hey?
work in progress.

Oh, and here come budget tip #2:  I've started to feel a bit guilty about all the paper and ink I am using printing out sketches and "scraplift" type challenges which I might or might not do.  so now I:
  • print on the back of an unwanted sheet of paper
  • resize if necessary to get 2 sketches on the same page (by turning sheet around and sending back through the printer
  • print in "grayscale" if it is coloured
  • print using "superfast draft" mode.
Less paper, less ink, less eco-guilt! Yay!
PS. and have I told you how much I love my Basic Grey Marjolaine papers?

Wednesday, July 6, 2011

A new place to play

Wow, the blog hop was so much fun, but so many blogs to look at it was too hard to really have a good look at all of them.  I did come across a few new challenge sites (not that my TAFE course will thank me, it's easy enough getting distracted from study already!) I am particularly excited about one site called "Scrap our Stash"  .  Sounds like my kind of people!  I have already completed a "pagerise" challenge;  the winner of the last challenge posts a layout of their own for you to "scraplift" in any way you choose. 
For me, this was another chance to do a bit of a budget page.  It was made using only one sheet of patterned paper, offcuts from two shades of cardstock, some very old letter tiles, machine stitching, stamps, sizzix dies and punches.  The green border strip is the reverse of the page.  I then decided  that I could cut the title from the background as well, so had to cut some more away.  This big hole is of course covered by the strip of photos!

Sunday, July 3, 2011

scrapbook challenges Blog Hop On

Well, I have never done one of these before, but when I saw the sketch for the scrapbooking challenges "season of change hop on I decided to give it a go!  To start the hop on from the beginning, you will need to go to Brynn's blog,  here.
When I saw the sketch, I thought it needed to be about something fun, or perhaps to do with imagination. Then I came across this photo of my kids when they were little on the lounge together reading and I instantly thought of the Dr Seuss book, "Oh the Places you'll Go" and I thought, that's my page!
As usual for me at the moment, all the papers and cardstock used on this page are offcuts, except for the backing sheet.
The smallest star is a sizzix die, but I decided on it's own it wasn' big enough.  I laid it down on a second scrap of paper, and drew a slightly larger  star around it. I then cut that one out and repeated the process to make the largest star.  Voila! 3 stars of different sizes!
I used rub-ons for the word "places" and stamped the other title words.  I wasn't sure whether burgundy or raspberry would be a better match, so decided I would stamp a sample on a scrap of paper.  And the winner is . . . scarlet!  Lucky I tested them first!

the other thing I am enjoying doing these days is trying to add a tiny hint of extra meaning into my pages without necessarily journalling it.  In this case, the heart represents (of course) my love for my children as well as our shared love of reading.  The three stars represents my three "reading superstar" children!
Making the page was the easy part, wish me luck as I attempt to follow all the  blog hop-on instructions!

Saturday, July 2, 2011

A useful gift (finally!)

Do you remember far enough back in scrapbooking land when stickers were THE number one embellishment?  Well then, as now, I didn't use stickers a lot except the occasional alphabet ones. 
But I had this lovely, very well-meaning friend who used to go to our local scrapbooking store to buy me a birthday present, and I think she must have thought, "well Julie likes this shop so she must like stickers".
So here it is, I don't know how many years later, and I finally have a use for these "fairytale theme" stickers.  Made for a quick, simple page on my daughter's 5th birthday party.
Can you see the cute crown sticker on Maddy's head in the top photo?
 

Laptop bag

Ever since I bought my laptop for my TAFE course (and Rob put his foot down at buying a bag as well, I have been meaning to make a bag for it.  For some reason though, (and this is coming from someone who designed and made multiple formal dresses in high school for myself and friends, as well as my own wedding dress) I didn't have the confidence to get started.  The idea started to dawn on  me, however, that probably someone else had already had the same idea, and that someone might have posted a pattern on the internet.  Well this week I finally did a Google search, and found not just one someone, but in fact a someone who had grouped together her favourite 26 patterns!! (Here's the link here, you can also find patterns for camera bags, ipod bags . . . bags for pretty much anything you want to put in a bag, I guess and plenty more crafty projects besides)
So I picked one that looked pretty much like what I had in my head,  and used it as a basis to kick-start my very own laptop bag.  I did a different type of pocket and sewed the straps straight to the sides of the bag (her way is probably better, but I didn't want to buy any rings).
I made it reasonably roomy, big enough to add a folder and notebook, and take everything I need for a trip to the library or to soccer practice. 
The denim is left over from a maternity pinafore I made when I was pregnant with Maddy, and the lining fabric was an off-cut purchased back when the boys were little enough to think that half a metre might be enough to make a pair of shorts!  The sale tag was still there from Lincraft, half a metre for $2.40 a metre! The ribbon, of course, is from my never-ending ribbon stash.